Hairpin legs are among the most popular table leg styles for DIY furniture. Hairpin Desk Legs provide an industrial edge that can be easily transformed into just about any design style you want, and they’re straightforward to install!
Here’s how it works:
– After joining two pieces of wood together with a simple butt joint, drill holes with a countersink bit at the base of each leg.
– Using wood glue and an 18 gauge brad nailer, attach hairpin legs to the underside of your tabletop along with the drilled marks on both sides.
– Repeat for each leg.
– For added support, attach two hairpin legs to the center of your table frame on both sides, too.
– To create a more polished look and feel, round over the exposed ends with fine-grit sandpaper or an oscillating tool equipped with an edge guide attachment.
– For a professional-looking finish, apply wood stain or paint to your hairpin legs.
– Then seal the finished look with high gloss polyurethane for extra durability and protection from water damage.
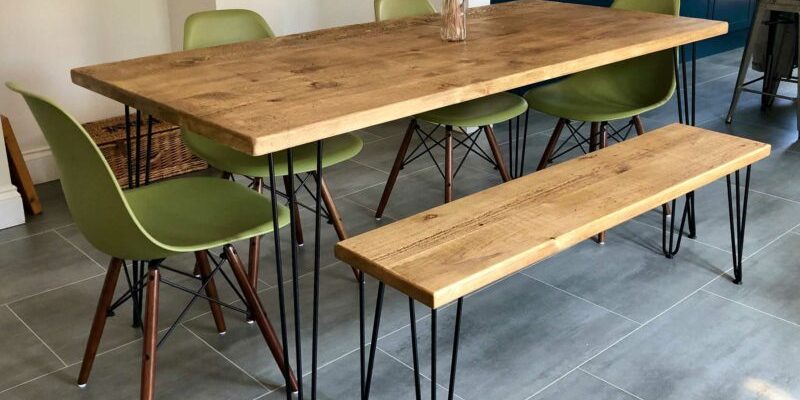
Hairpin legs are widely available in different heights, shapes, colors, finishes, and materials suitable for practically any furniture design. To prevent scratching your floors, place rubber feet on the bottom of each leg.
In conclusion, hairpin legs are a great way to give any DIY furniture project an industrial edge that can easily be transformed into any design style.